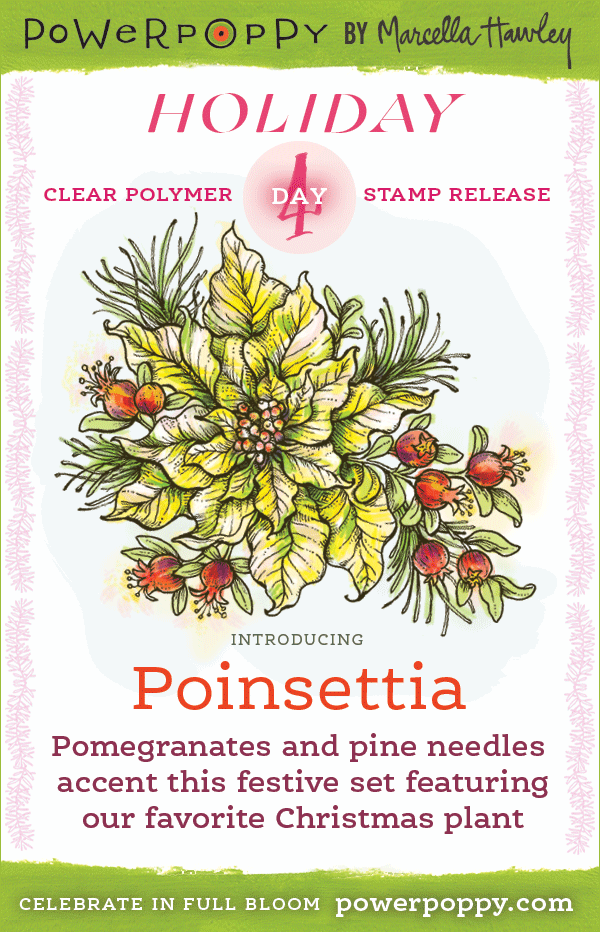
Okay, I just have to say that I am having so much fun with this Power Poppy release. Each set is just full of yummy gorgeousness!! Seriously!! Today, we're showcasing this gorgeous Poinsettia set. Marcella always includes the most perfect and lovely details. Her images really shine all by themselves. And then we get to add a little extra sumpin' sumpin'. I just stamped the image with Smokey Gray Versafine, heat set it, colored it with Pewter PanPastel, and added a bit of sparkle with my Quickie Glue Pen and glitter. I was really happy with the sofness the PanPastel gave it.

Here you can see the sparkle a bit better. If you click on the image, it's even more visible.

Lastly, I added a little tag with the sentiment.
That's it for me today folks. Release day is tomorrow!! You won't want miss our Hop!! This Bloom Brigade is pretty amazing!!
Here's a list of the Bloom Brigade members participating today:
- Allison Cope
- Christine Okken
- Danielle Kennedy
- Dawn Burnworth
- Julie Koerber
- Kathy Jones
- Katie Sims
- Leslie Miller
- Marcella Hawley
- Stacy Morgan
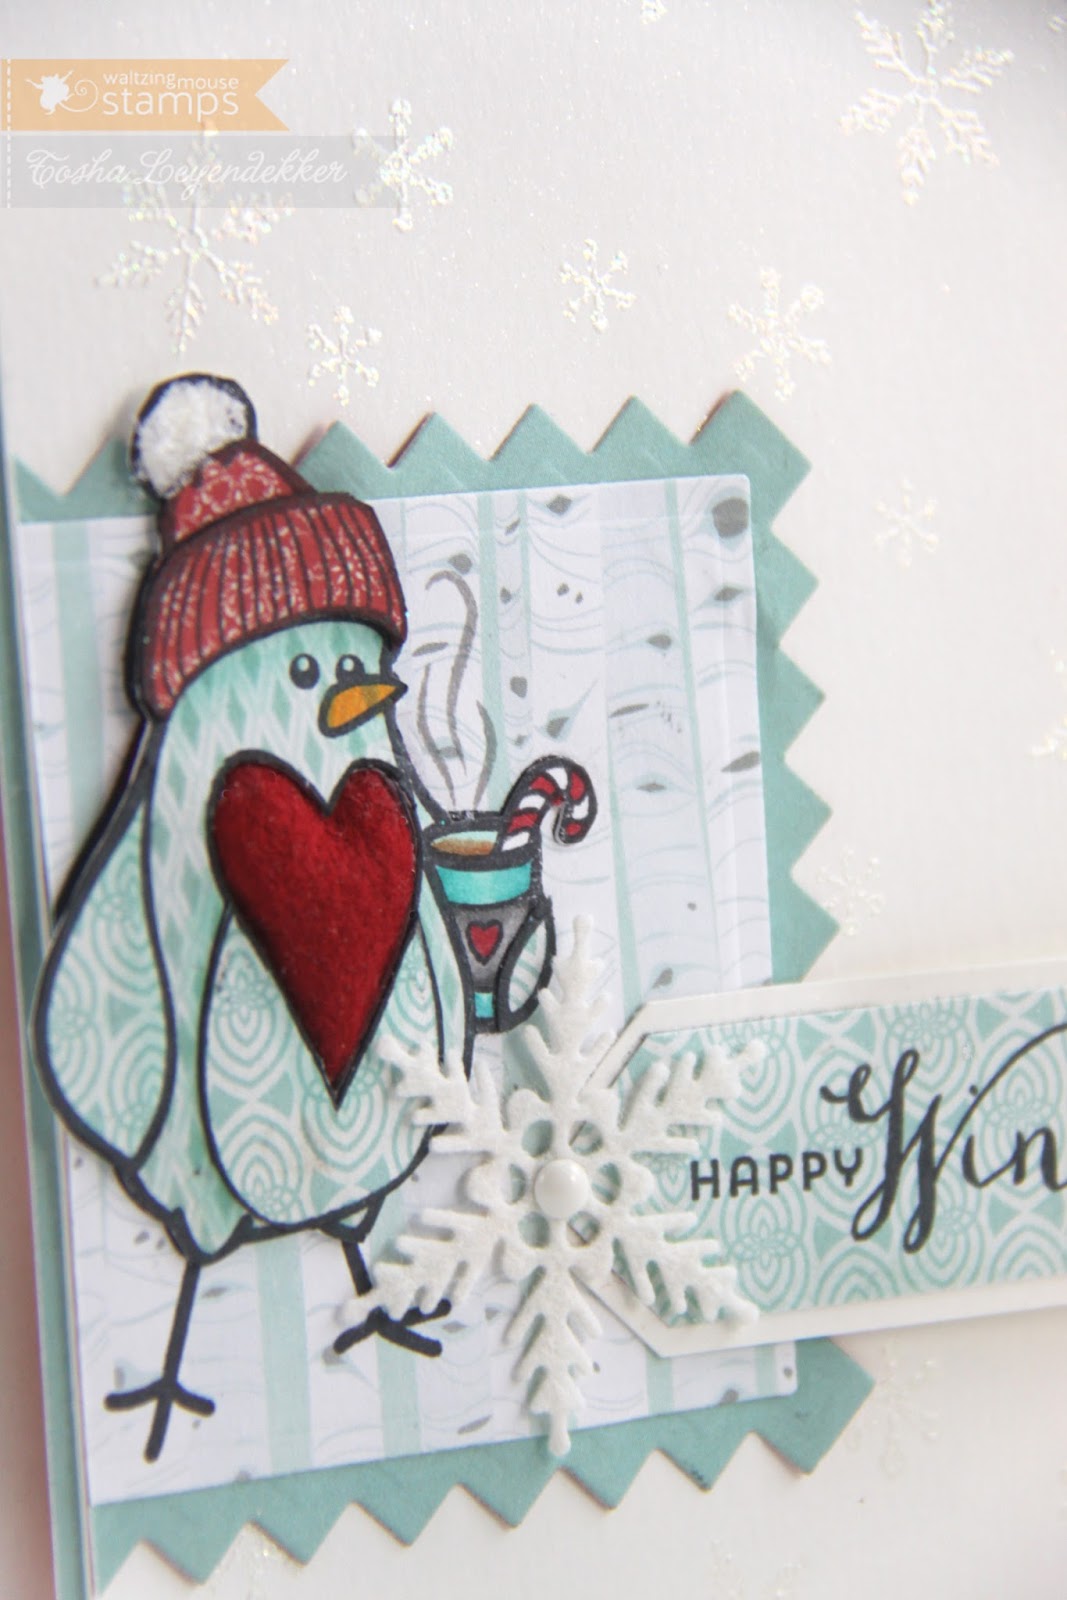
- Tosha Leyendekker
Happy Stamping!

___________________________________________________________
Stamps: Poinsettia (Power Poppy)
Paper: Cryogen White, It's Christmas Time (Maja Design), Kraft and Vintage Cream (PTI)
Ink: Smokey Gray (Versafine), Vintage Photo (Ranger Distress)
Accessories: 2011 Heirloom Ornaments and Tapestry dies (Spellbinders), PanPastels, Lace, Seam Binding Ribbon, Berry Cluster (Wild Orchid Crafts), Sparkler (Webster's Pages), Glass Glitter, Rhinestones (Kaisercraft), Silver Leafing Pen (Krylon)