Sunday, December 14, 2014

WMS December PJ Party ~ Let it Snow


It's time for another Waltzingmouse Pajama party, and I've created a card that fits under two of the challenges using Country Labels No. 4 and Alpine Christmas:  Old Pajamas and Bedtime Story Sketch

I just stamped one of the Country Labels No. 4 images with Onyx Black Versafine ink and die cut it using Spellbinders' coordinating die.  I stamped the "Snow" portion of the "Let it Snow" sentiment, from Alpine Christmas, with Versamark, and heat embossed it with some White Embossing Powder.  The "Let it" portion was stamped with Brick Red VersaMagic ink.  I then stamped various village images, from the Alpine Christmas set, with Onyx Black Versafine and added the white roofs with a White Sharpie.

I stamped the Snowflake (Alpine Christmas) with Whisper White (SU!), embossed it with White ep, and then die cut it using the snowflake die from the Alpine Christmas die set.

I hope you've joined the Pajama Party.  Claire's challenges can be so much fun and quite inspirational!

Happy Stamping!
_____________________________________________________________________

StampsAlpine Christmas and Country Labels No. 4 (Waltzingmouse)
Paper:  Candy Cane (Teresa Collins), Kraft, Black, Vintage Cream (PTI)
 Ink:  Versamark, Onyx Black (Versafine), Brick Red (VersaMagic)
Accessories:  Labels 4 die (Spellbinders), Alpine Christmas die (Waltzingmouse), White Embossing Powder (Ranger), Black Burlap String (May Arts), Cup Chain (Fusion Beads), White Sharpie 

Friday, December 12, 2014

Be Merry


Hello everyone!!  I'm feeling very merry this week.  My daughter flies home from college today, and my son and his wife will be flying in a week later.  So, my house is all decorated, presents are wrapped and under the tree, and everything is ready to go so I can enjoy this precious time with my kids, celebrating our blessings and the True reason we have so much to be thankful for.

My living room is decorated vintage shabby chic, so being in that mood, I colored this image from Bottlebrush Holiday in warm, neutral colors.  I then die cut them, and sponged Antique Linen (Ranger Distress), inside the dies to vintage it all up.

The base was embossed with Spellbinders' Fabric Weave Embossing folder, and I added some Gold Metal Inka Gold Gloss Paint to the raised portions to give it a bit of shimmer and shine.  I scored the back panel to give it a bead board look, added some sequins, seam binding and a sweet little button.

That's it for my project.  If you haven't already, you really should check out these Bloom Brigade Blogs.  These gals are never short on inspiration!
Copics:  W5, W3, W1, W00, R30, C5, C3, C1, E27, E25, E21, BG99, BG93, BG90, BG0000, E41

I hope you can join us for the Power Peeps Challenge this month.  I know it's busy, but you can use the opportunity to get those last minute Christmas cards made, or even to escape all the craziness and just stamp away. 
___________________________________________________________________

StampsBottlebrush Holiday (Power Poppy)
Paper:  The Twelve Days of Christmas (Graphic 45), Cryogen White, Kraft (PTI)
Ink:  Tuxedo Black (Memento), Antique Linen (Ranger Distress)
Accessories:  Copics, Fabric Weave Embossing Folder, Royal Circle and Standard Circle dies (Spellbinders), Seam Binding (PrairieBirdBoutique), Button (PTI), Sequins (Pretty Pink Posh and A Gilded Life), Gold Metal Gloss Paint (Inka Gold Viva Decor) 

Tuesday, December 2, 2014

Waltzingmouse December Release


Today's the day!!  Waltzingmouse's Vintage Post Cards and Country Roses stamp sets are now available for purchase.  If you arrived here from Karin's blog, you are on the right track.

I combined the two sets today along with a sentiment from the Folk Art Medallion set.  I added a bit of sparkle to the blooms too, just to make them "pop" a bit.

Today's project is pretty straight forward and CAS, so I won't go into specific details.  Plus, you'll want to keep hopping.  So, next up on the hop is the super creative, and uber sweet Lynn.

    Happy Stamping!

__________________________________________________________________

Paper:  White (PTI), Turquoise (Bazzill)
Ink:  Sea Breeze, Turquoise Gem, Aloe Vera, Tea Leaves, Hint of Pesto and Spring Pansy (VersaMagic), Gray Flannel and Teal Zeal (Memento), Smokey Gray (Versafine)
Accessories:  Quickie Glue Pen, Glitter (Hero Arts) 

Monday, December 1, 2014

Vintage Postcards with Country Roses ~ Waltzingmouse


For my Power Poppy post, click HERE.


Hello my friends!!  Happy Monday!  Today we're combining both sets: Vintage Post Cards and Country Roses 

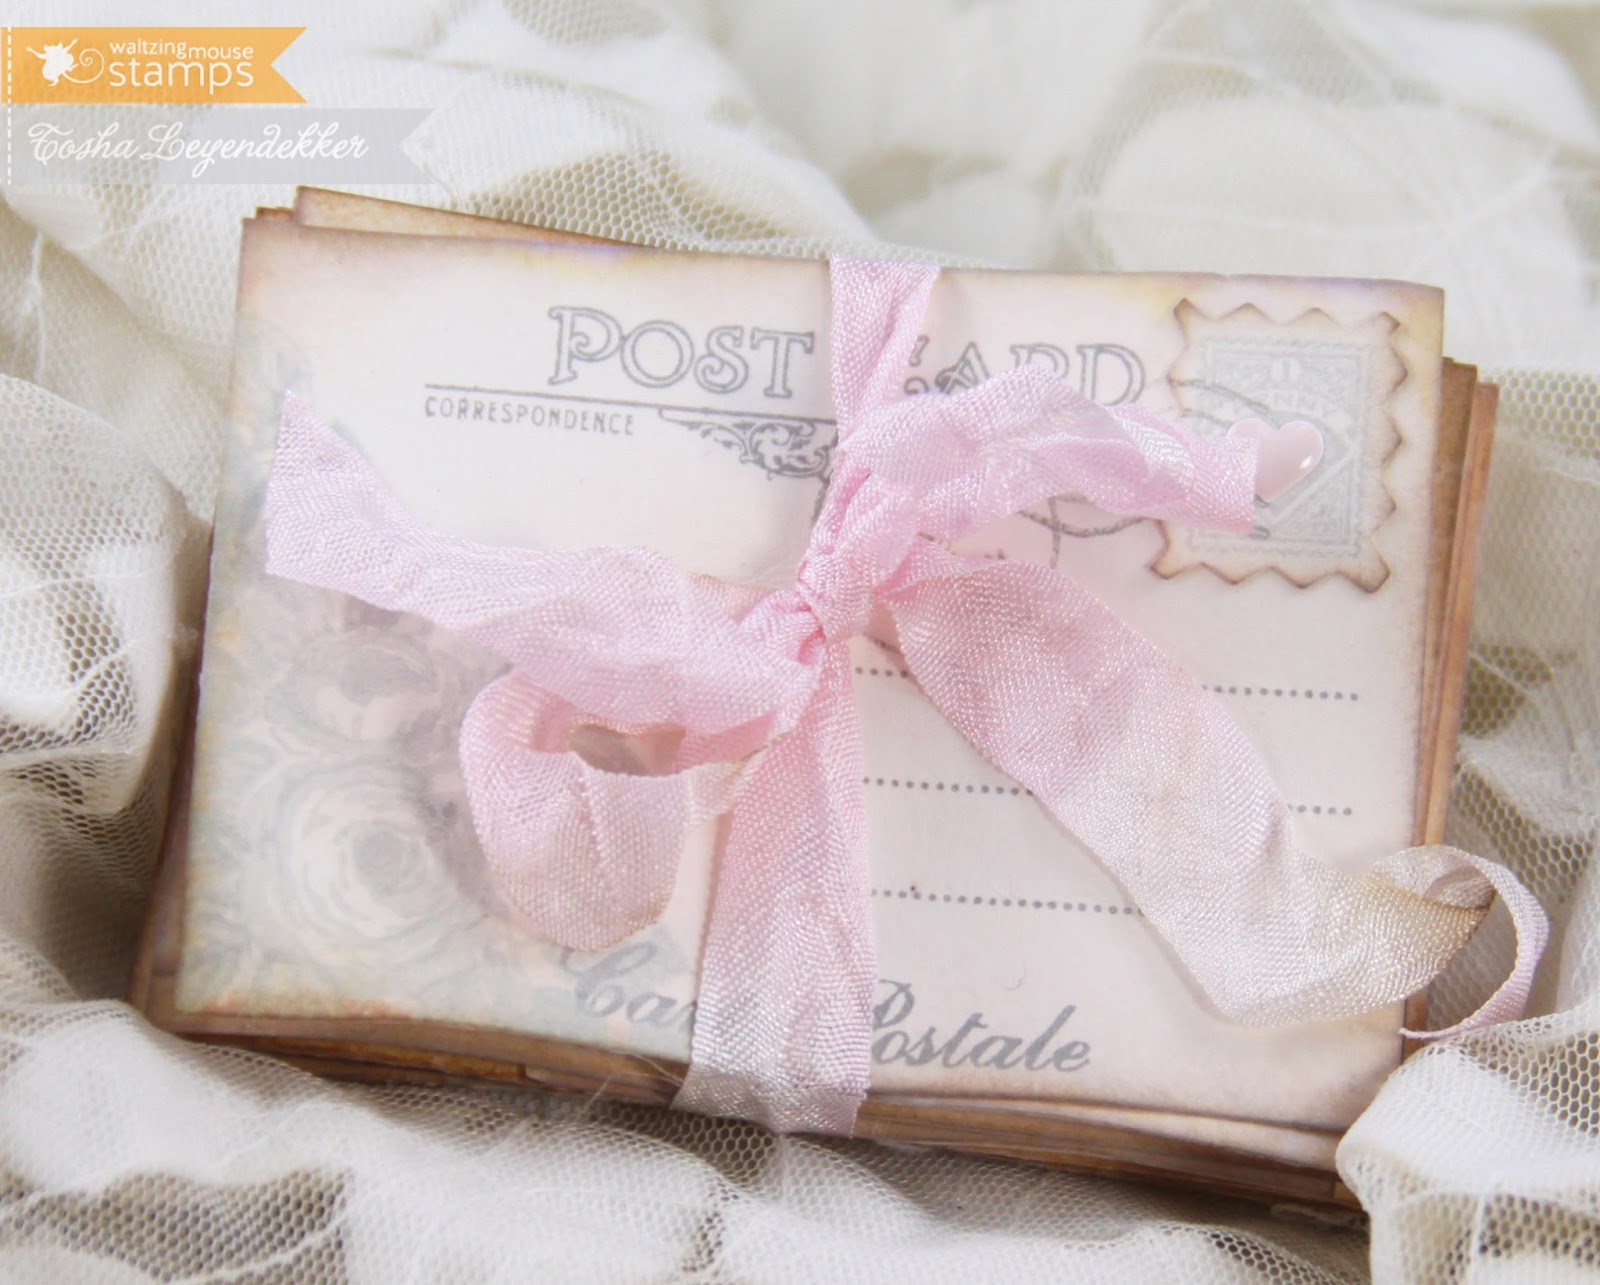
So today I used the "mini" images to create this itty bitty 2 1/2" x 3 1/2" post cards for some more vintage decoration.  I stamped the Post card images with Smokey Gray Versafine.  The Country Roses were layered with just one ink: Champagne Metallic Encore Pigment Ink.  I then distressed the edges with Vintage Photo Distress ink and spritzed all the cards with water to age them.  I love how the inks responded.  The encore ink lost it's sparkle, but faded nicely to give it an aged appearance, and the Distress ink ran a bit aging the paper.  Lastly I tied them all together with soft pink seam binding ribbon, and added a little enamel heart to the stamp center.


Here's a little look at the other cards in the group.


And lastly, here's a close up of some of the Post Card stamp Images.

That's it for today.  Be sure to join us tomorrow for the Waltzingmouse Hop!

   Happy Stamping!
__________________________________________________________________

StampsVintage Post Cards, Country Roses (Waltzingmouse)
Paper:  Vintage Cream (PTI)
Ink:  Smokey Gray (Versafine), Champagne Metallic (Encore), Vintage Photo (Ranger Distress)
Accessories:  Enamel Heart (MME), Seam Binding Ribbon (Prairie Bird Boutique - Etsy)

Power Poppy Winter Blitz digi Release

For my Waltzingmouse post, click HERE.


Hello Power Poppy fans!  I hope you've enjoyed the last couple of days of Power Poppy projects.
Hop along with the Bloom Brigade today for one more day of inspiration!  And by commenting on the each Bloom Brigade blogs, you will have a chance to win the entire Winter Blitz digi release.

I combined both sets for my card today:  Winter Pick-Me-Up and Camellias.  I first created a background with the Camellias.  For a tutorial on how to do this, click HERE.  After I had the background arranged the way I wanted it, I diecut it with a Heart die (Spellbinders).  I then diecut a scrap piece, that I had printed for my first project, using Back to Basic Tags (Spellbinders), and colored it with Copics.  Dina Kowal did a beautiful tutorial on how to make tags with portions of images.  You can find that tutorial HERE.


That sums up my project for today.  Now, I'm always the caboose on the hop, but if you happened to miss a stop along the way, here are the links to the Bloom Brigade blogs. 


Copics:  YR00, YR000, Y02, G12, C3, C2, C1

  Happy Hopping!

_____________________________________________________________

StampsWinter Pick-Me-Up and Camellias digis (Power Poppy)
Paper:  Epiphany (Prima), X-Press It Blending, White (PTI)
Accessories:  Copics, Basket Weave M-bossabilities, Heart, Scallop Heart, Back to Basics Tags and Jewel Keys dies (Spellbinders), ribbon and string 
Related Posts Plugin for WordPress, Blogger...
 
Site Design By Designer Blogs